Tag : lego

post image

Latest Hauls

Obviously building in LEGO bricks requires a lot of bricks, especially if you’re like me and don’t like to take apart good builds. I do plan to take builds apart eventually when I can make build notes and take decent pictures but for now I’ve been accumulating bricks that are the most common for my building interests.

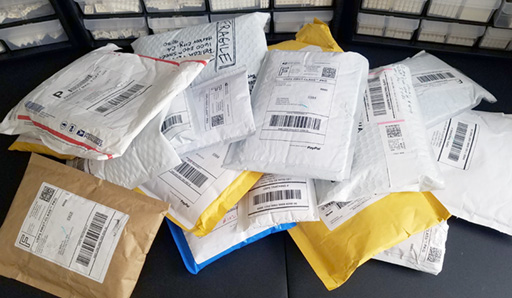
March 20 Haul from BrickOwl stores

March 20 – I thought this was my biggest receiving day… but…

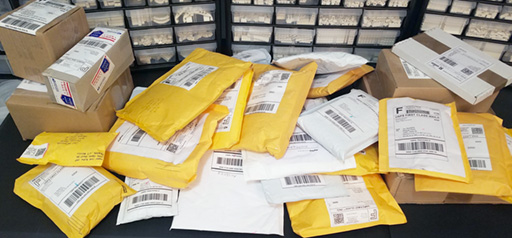
March 27 Haul from BrickOwl stores

…I unexpectedly got a huge bunch of orders at the same time on March 27. 28 packages arrived at my work. My co-workers think I’m nuts. Maybe I am.

I built a decent light box photo-taking area out of huge pieces of spare foam core board I had, so that will soon help me start taking good photos of my builds.  Haven’t tested it yet with my SLR & daylight lamps, but even with my phone camera the quality is good.  I’ll share what the light box looks like in an upcoming post.

post image

My Simple Lego Studio

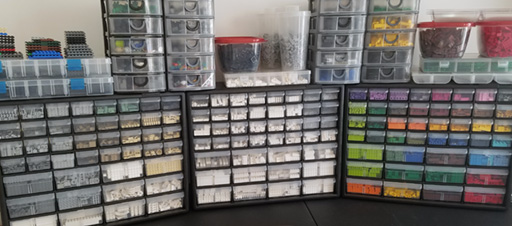
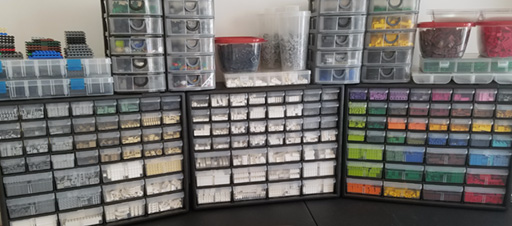
I haven’t been at this for too long so it’s still a work-in-progress but here is a look at how I’m organizing my parts. My tables and bins are currently set up in my spare room, so any guests will have to sleep with the legos. 🙂

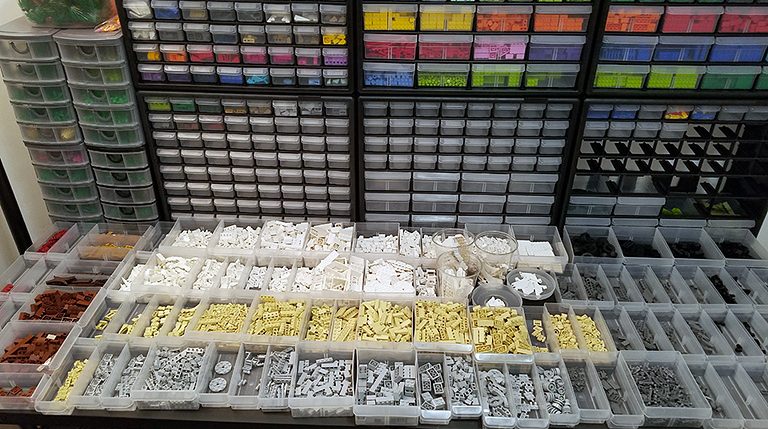
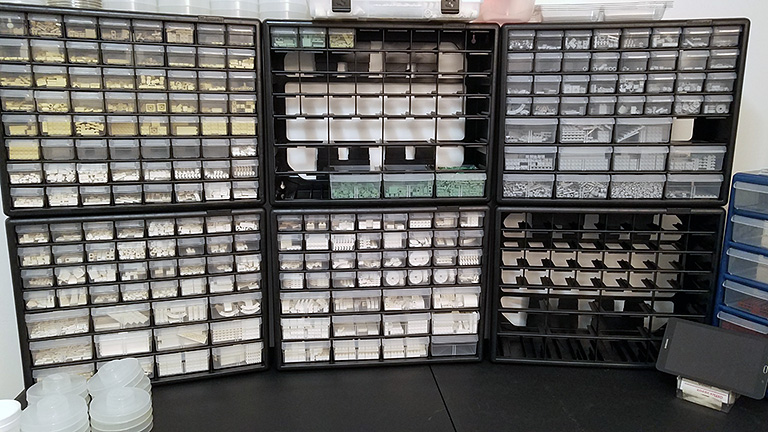
Main work space - the "white zone"

This table has the main bins I work from. I pulled out a bunch of the bins to re-organize as I’ve recently bought a lot of new pieces.

Right now I tend to prefer to work in mostly white – since I don’t have specific large projects yet, it’s difficult to gather the variety of colors needed for all part types which might be needed, so for not I mostly try to source white versions of any type of pieces and get used to building and then expand to the other colors as I find them.

My main bins are all Akro-Mils which I get through Amazon. They are a little expensive at about $30 each but s far they have been the best option.  These sizes that I got come in 3 main configurations, all small bins, mostly small bins and some large bins, or all large bins.  The main things which might make these bins better is to have clearer plastic for the bins so the pieces can be more easily seen inside (especially darker pieces) and to not have the separator insets on the inside which I never use – that makes it awkward to line up a long run of pieces along either side without losing a tiny bit of spacing in the middle.


Secondary work area

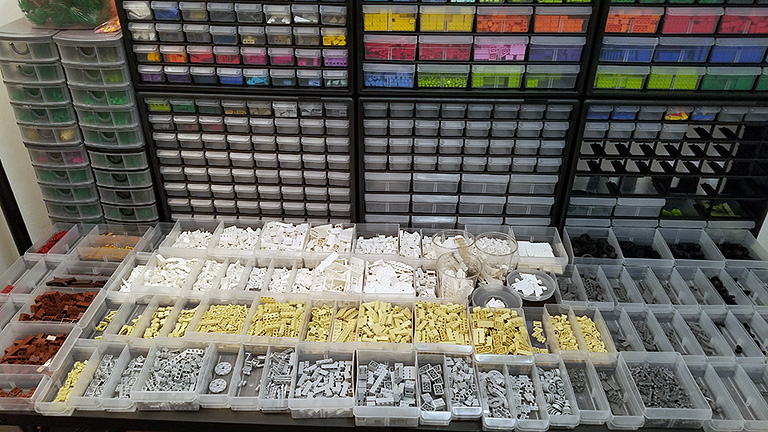
Secondary work area – mainly the colors and more specific non-standard pieces.

This is the secondary bin area shown in the photo above, on the opposite wall. I usually don’t have the parts out like that on the table – I was just separating out and organizing parts from recent orders & purchases.This area n the above photo I’ve started to separate out the mostly roof-style pieces in the left bins. That would be all sloped style pieces and inverted pieces as well.  I primarily like to separate by color then style of brick which makes it easier for me to find what I’m looking for. In the 2 top/right bins I’ve put all the “bright” color bricks ordered by the color spectrum, with small pieces in the smaller bins and big pieces (or pieces I have a lot of) in the larger size bins.

On the left of the main bins are a number of larger bins (in a type of container I ended up not liking at all) which house all my plant-like scenery pieces.


Middle spare area - dark & transparent pieces

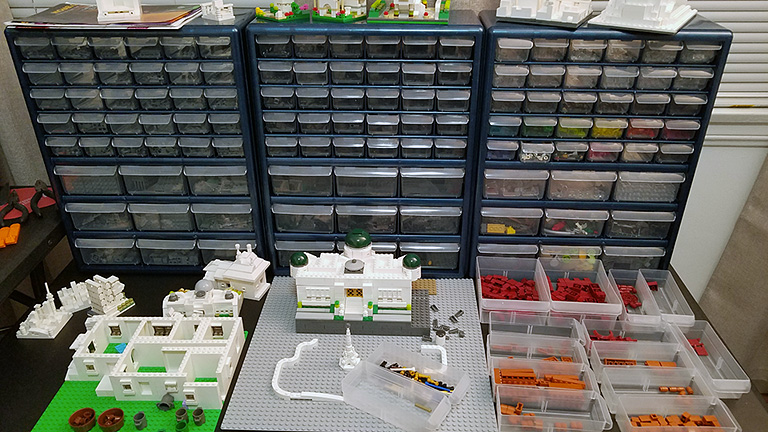
This is a table between the 2 main ones. The bins here mostly are for dark gray, black and transparent pieces, plus some very specific minifig type pieces I find useful.

This table area has a different type of bin I found at Lowes called Stack-On. Although the bins themselves are clearer than the Akro-Mils, the overall quality and size is not as good and they don’t have grooves on the top to safely stack without sliding.  In Los Angeles where an occasional minor earthquake may hit, you don’t want stacked bins to easily slide off & fall.  Both bin types come with mounting holes to secure to a wall but I don’t want to put holes in my guest room walls just yet.

To the left of this table, on the main table, there is another bin with all my brown & dark red pieces.

Once my latest part orders come in, I would estimate I will have about 42,000 pieces.  Even with all those pieces, I still will need many more over time – particularly the harder-to-source colors (such as brick yellow [aka tan], sand yellow [aka dark tan], and sand green) and certain part types (small 1×3 arch, classic 2×2 windows with inset sills, sloped roof corners and double concave slope, various plant pieces and old style hinged roof plates for doing thin “SNOT” stacking).  Useful SNOT parts are also often priced higher so harder to order in large quantities.

post image

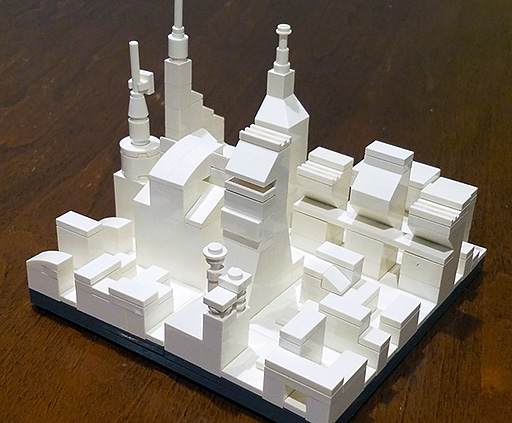
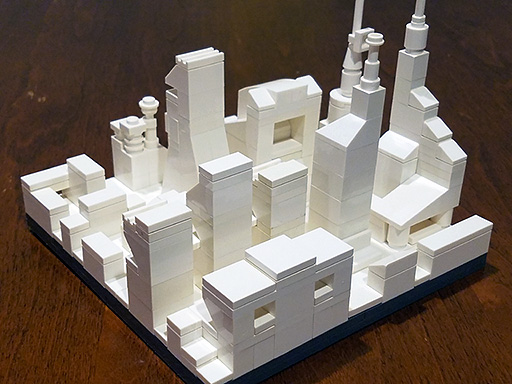
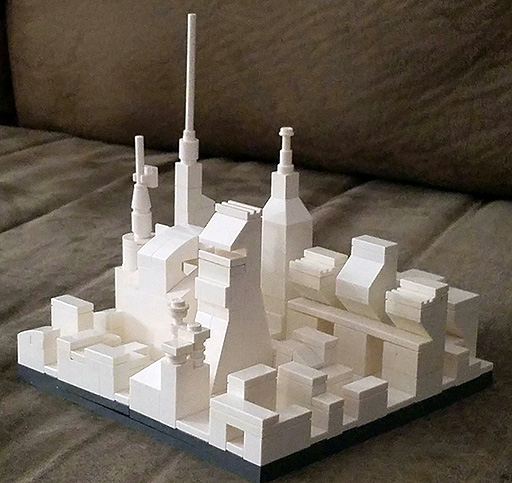
Random City

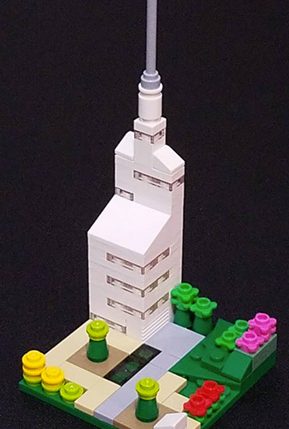
First city-like build, not really planned. It’s a little inconsistent, I was just playing with building shapes.

Random City, photo 1 Random City, photo 2 Random City, photo 3

Ideas for Future Builds

Here are some ideas I’d like to try out:

  • Blade Runner Theme (also using black, dark gray and brown as the primary colors)
  • Mt Rushmore micro-version (but not cartoony, something that really looks like the monument)
  • Golden Gate Bridge (color-match)
  • Human face
  • Something from West World (HBO series)
  • LAX
  • A recognizable city skyline, super-micro version
  • A lush organic-looking tree
post image

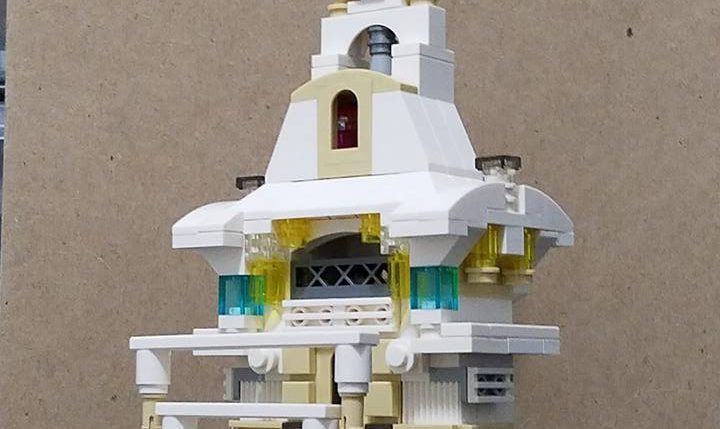
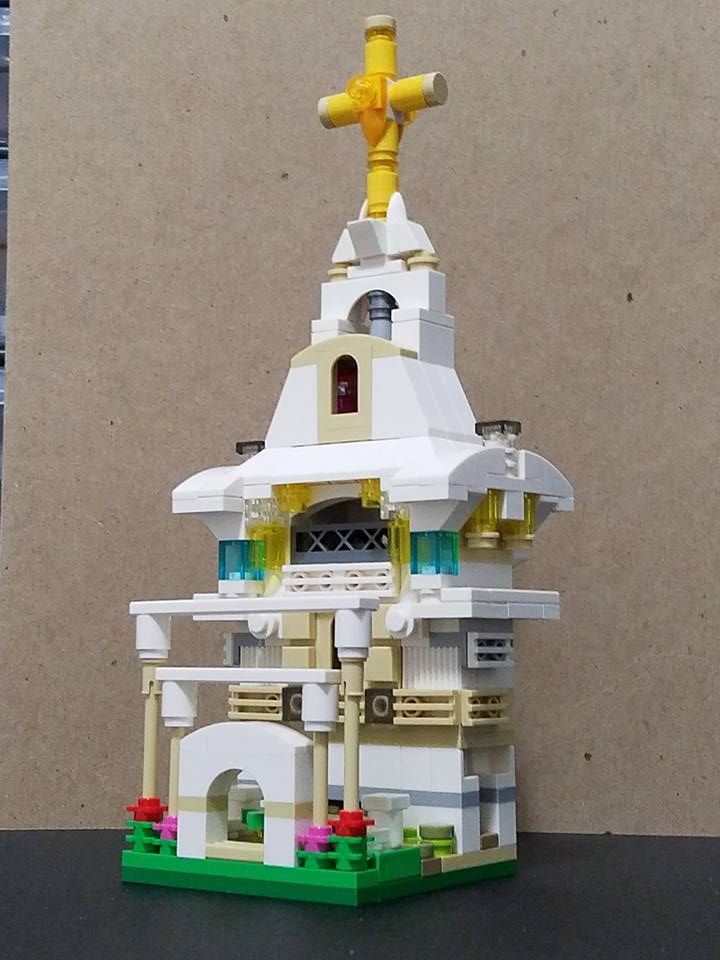
The Church

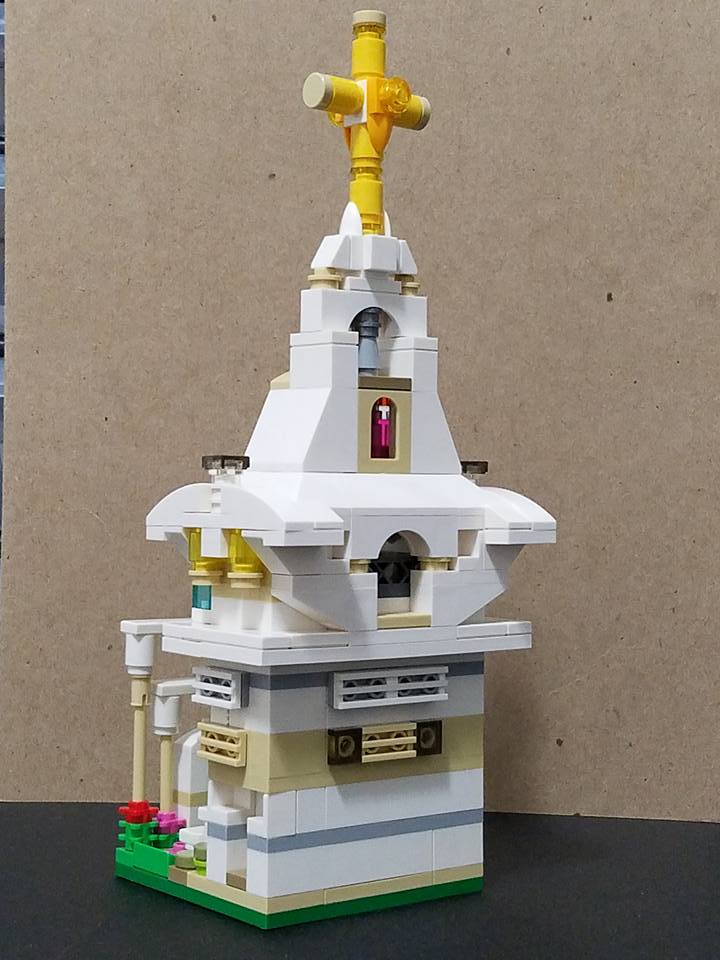
I didn’t know what I was building when I started, I just started putting a base together and see what came to mind.

Church Build, photo 1

As I built the base I kept changing it around as I thought of different things to do until it seemed to be forming a church-like structure.


Church Build, photo 2

Back side – there is a side entrance visible here.


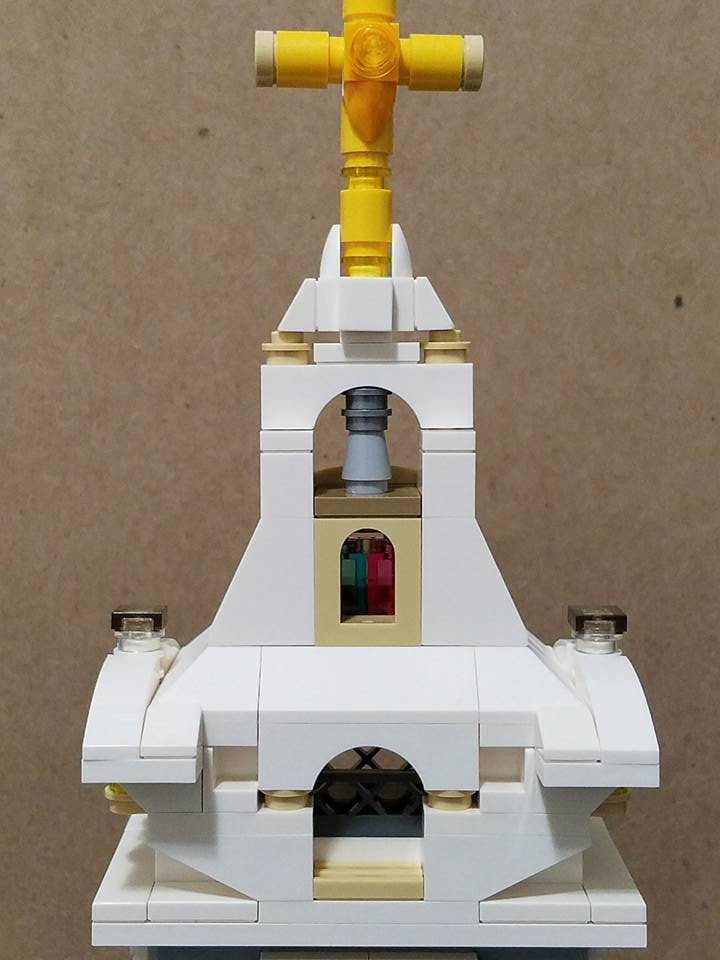
Church Build, photo 3

Close-up of top of back side. A terrace area is visible near the top. A tower bell. Stained glass room beneath.


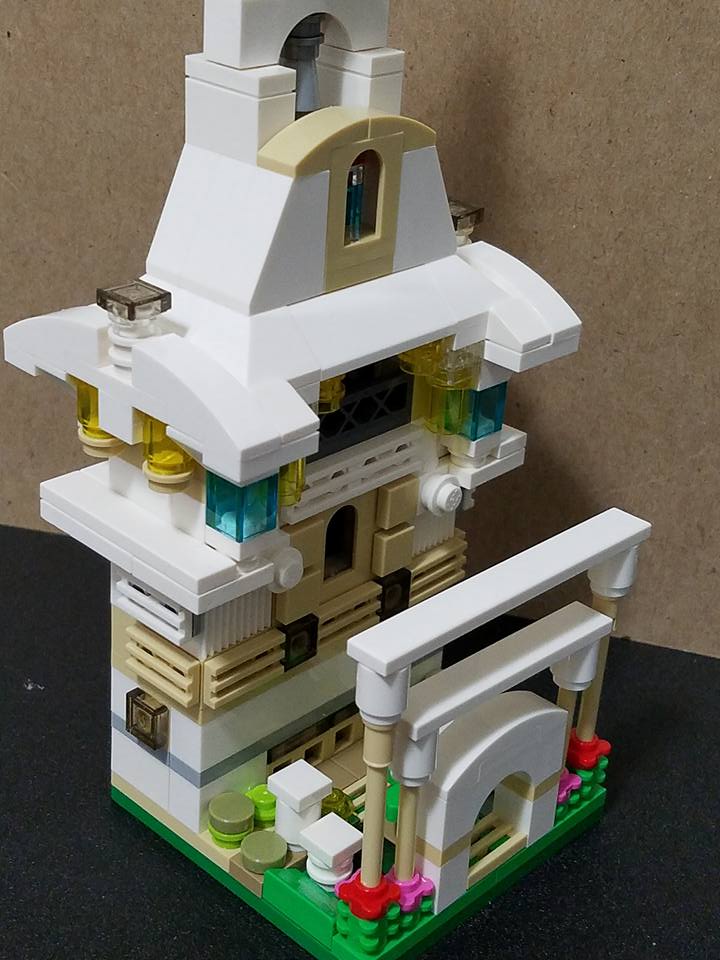
Church Build, photo 4

Angle from the top, to be able to see the entrance treatment and garden & side columns.

post image

Architecture Studio Inspiration Begins

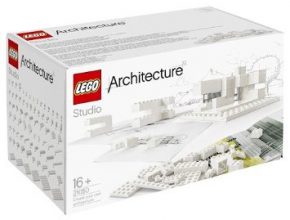
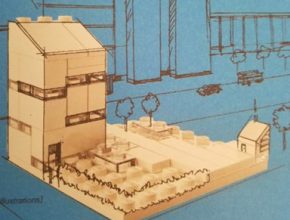
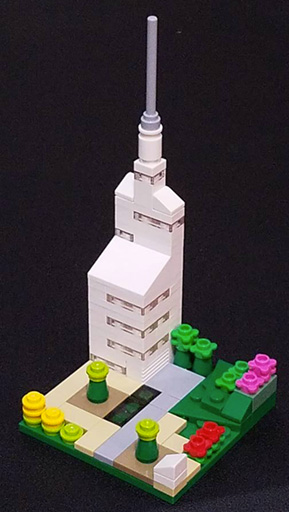
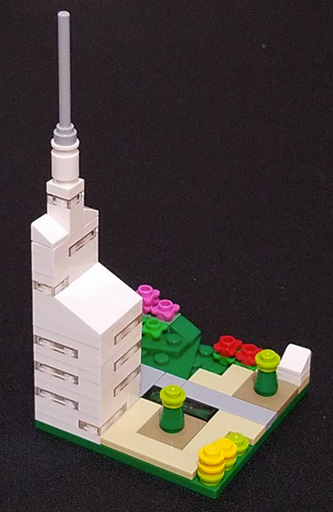
Here is a quick and simple build which was inspired by one of the visual examples in the LEGO Architecture Studio set (# 21050).  It may be the only build example I show where I emulated something heavily, but I’ll share nonetheless. I’ve also included the page from the book included with the set which the little build is based on.

Although this is a simple build, it shows how much perceived detail can be simulated with just subtle shapes, contours and colors.

Book Page

Build 1, photo b

post image

Welcome to Brick Blvd!

Lego BinsHello, my name is Jay and this blog will help me track my experiences with LEGOs. It may grow to more but for now I would like to create a way to share my interests in LEGOs – whether building, sharing news, buying pieces and sets, history, piece and color info, etc.

Until recently, I really did not have a lot of exposure to LEGOs, even as a kid I don’t remember having any significant exposure to them. About 3 months ago at work I was doing some project planning with an employee and said how useful it would be if we had LEGOs to help us with planning a warehouse fulfillment flow. That lead me to look for nearby LEGO stores, which lead me to various search terms on Google.

My background is in art and one thing lead to another as I found interesting model builds done with LEGOs. Castles, space ships, cities. What drew me in wasn’t just the idea of these builds but how clever the builders were at putting their creations together. My memories of LEGOs was of limited blocky-like building options but these builds I was finding online were something new and magnificent. I’ve always enjoyed the idea of creation within boundaries as it creates a challenge for the imagination to work around limitations that everyone else has to work within to create something that others have not seen before – even things that others could not imagined before within those limits.

I instantly knew I needed to get LEGOs. Lots of LEGOs. I found nearby stores and the pick-a-Brick options at those stores (which seemed pretty limited but at least cost-effective for bulk buys). Sets that contained the kind of pieces I wanted were also an option but an expensive one. Then I discovered the LEGOs Architecture series of sets which seemed tuned best to the kind of building challenges I wanted to work through. I particularly got drawn to the Architecture Studio set which is almost entirely white pieces with some transparent pieces. My color choices for architectural ideas I mostly envisioned in white and light colors and I began my pursuit of finding pieces in the white and “brick yellow” or “sand yellow” colors – and trying to get as many “sand green” and “sand blue” as possible.

As I began looking to purchase pieces and sets, I soon found that many kinds of pieces are hard to find as they are either discontinued by LEGO or only come in small quantities in various build sets. This lead me to the online Pick-a-Brick section of the LEGO web site. That widened the range of options, though not the full suite of the types of pieces LEGO has available. So I looked around and asked around which lead me to various online sources of harder-to-find pieces like BrickLink and BrickOwl which are partly a browsable database of all possible parts and partly a conglomeration of online stores selling a wide range of pieces. There are many sites I’ve uncovered which I’ll do a writeup about soon.

In the past 2 months I’ve bought LEGOs directly from LEGOs stores, the in-store Pick-a-Brick walls, the Pick-a-Brick section on the LEGO web site, stores on BrickOwl, Toys R Us, and local Craigs List ads. I’ve also bought some storage options on Amazon, Home Depot and craft stores which have helped me organize the legos for easier storage that also allows quick access & finding of the pieces I need. So far it’s not been a cheap process – it seems like between all the purchase methods I’m averaging just under 10 cents per piece – and another 10% or so of my overall costs are related to storage.

I think the cost is worth it as I am finding a really strong enjoyment being able to challenge myself on building ideas. Right now I’ve accumulated about 20,000 pieces, about 1/3 white pieces, 1/3 grays/blacks and the rest a variety of colors. Within the next month I plan to gather another 6,000 and then start supplementing mostly from local sellers and rare pieces through the online stores, probably a few thousand each month until I have enough of a collection to build just about anything from my imagination.

I will be sharing pictures of my builds, setup, and things I learn along the way.