My Simple Lego Studio
I haven’t been at this for too long so it’s still a work-in-progress but here is a look at how I’m organizing my parts. My tables and bins are currently set up in my spare room, so any guests will have to sleep with the legos. 🙂

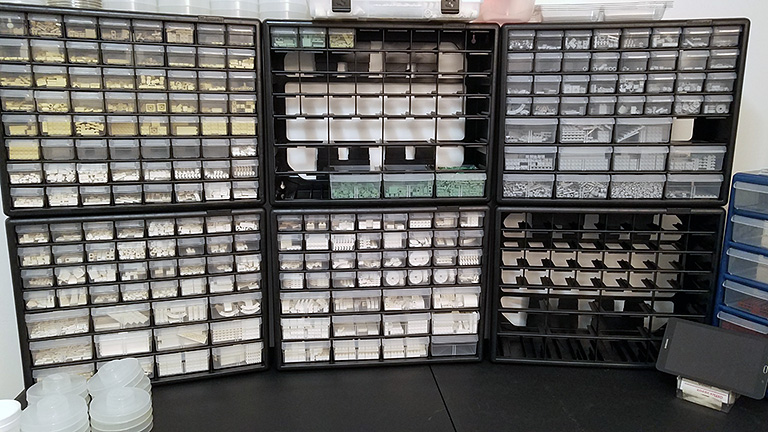
This table has the main bins I work from. I pulled out a bunch of the bins to re-organize as I’ve recently bought a lot of new pieces.
Right now I tend to prefer to work in mostly white – since I don’t have specific large projects yet, it’s difficult to gather the variety of colors needed for all part types which might be needed, so for not I mostly try to source white versions of any type of pieces and get used to building and then expand to the other colors as I find them.
My main bins are all Akro-Mils which I get through Amazon. They are a little expensive at about $30 each but s far they have been the best option. These sizes that I got come in 3 main configurations, all small bins, mostly small bins and some large bins, or all large bins. The main things which might make these bins better is to have clearer plastic for the bins so the pieces can be more easily seen inside (especially darker pieces) and to not have the separator insets on the inside which I never use – that makes it awkward to line up a long run of pieces along either side without losing a tiny bit of spacing in the middle.

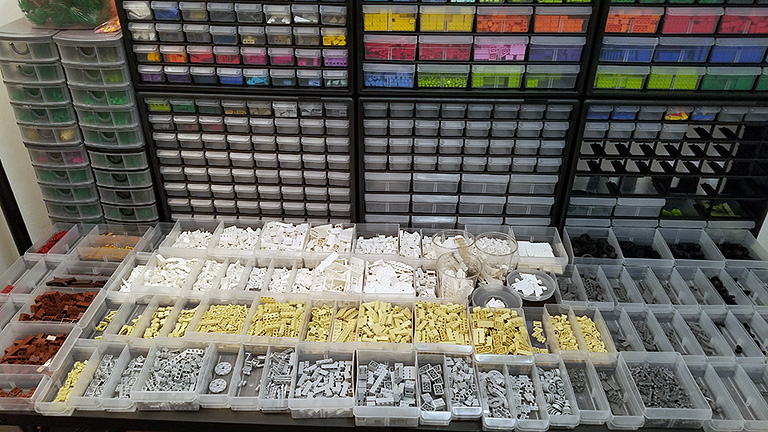
Secondary work area – mainly the colors and more specific non-standard pieces.
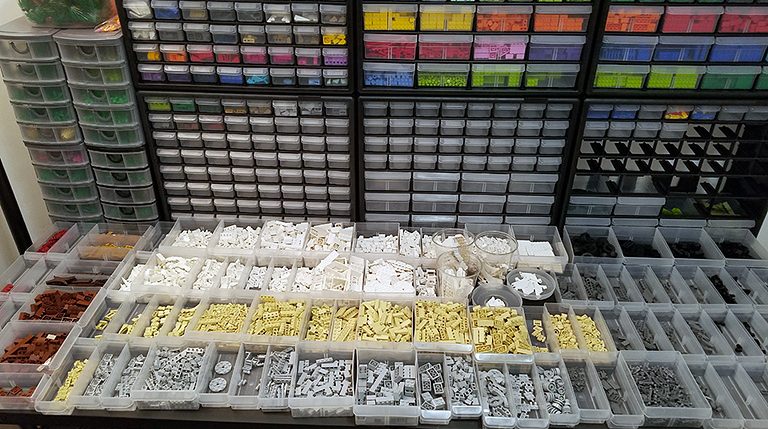
This is the secondary bin area shown in the photo above, on the opposite wall. I usually don’t have the parts out like that on the table – I was just separating out and organizing parts from recent orders & purchases.This area n the above photo I’ve started to separate out the mostly roof-style pieces in the left bins. That would be all sloped style pieces and inverted pieces as well. I primarily like to separate by color then style of brick which makes it easier for me to find what I’m looking for. In the 2 top/right bins I’ve put all the “bright” color bricks ordered by the color spectrum, with small pieces in the smaller bins and big pieces (or pieces I have a lot of) in the larger size bins.
On the left of the main bins are a number of larger bins (in a type of container I ended up not liking at all) which house all my plant-like scenery pieces.

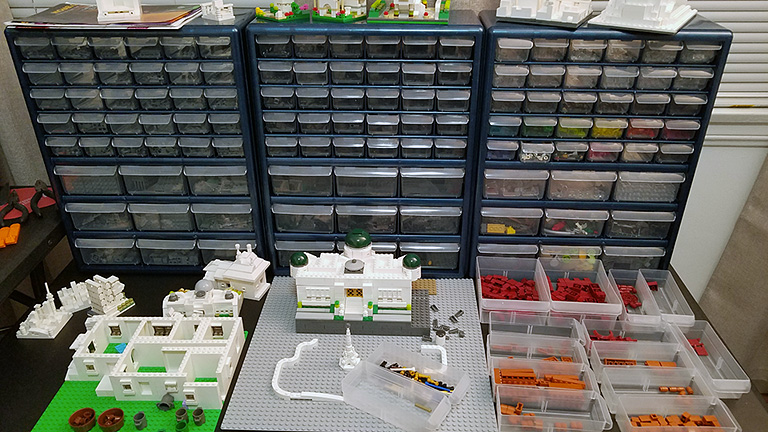
This is a table between the 2 main ones. The bins here mostly are for dark gray, black and transparent pieces, plus some very specific minifig type pieces I find useful.
This table area has a different type of bin I found at Lowes called Stack-On. Although the bins themselves are clearer than the Akro-Mils, the overall quality and size is not as good and they don’t have grooves on the top to safely stack without sliding. In Los Angeles where an occasional minor earthquake may hit, you don’t want stacked bins to easily slide off & fall. Both bin types come with mounting holes to secure to a wall but I don’t want to put holes in my guest room walls just yet.
To the left of this table, on the main table, there is another bin with all my brown & dark red pieces.
Once my latest part orders come in, I would estimate I will have about 42,000 pieces. Even with all those pieces, I still will need many more over time – particularly the harder-to-source colors (such as brick yellow [aka tan], sand yellow [aka dark tan], and sand green) and certain part types (small 1×3 arch, classic 2×2 windows with inset sills, sloped roof corners and double concave slope, various plant pieces and old style hinged roof plates for doing thin “SNOT” stacking). Useful SNOT parts are also often priced higher so harder to order in large quantities.
